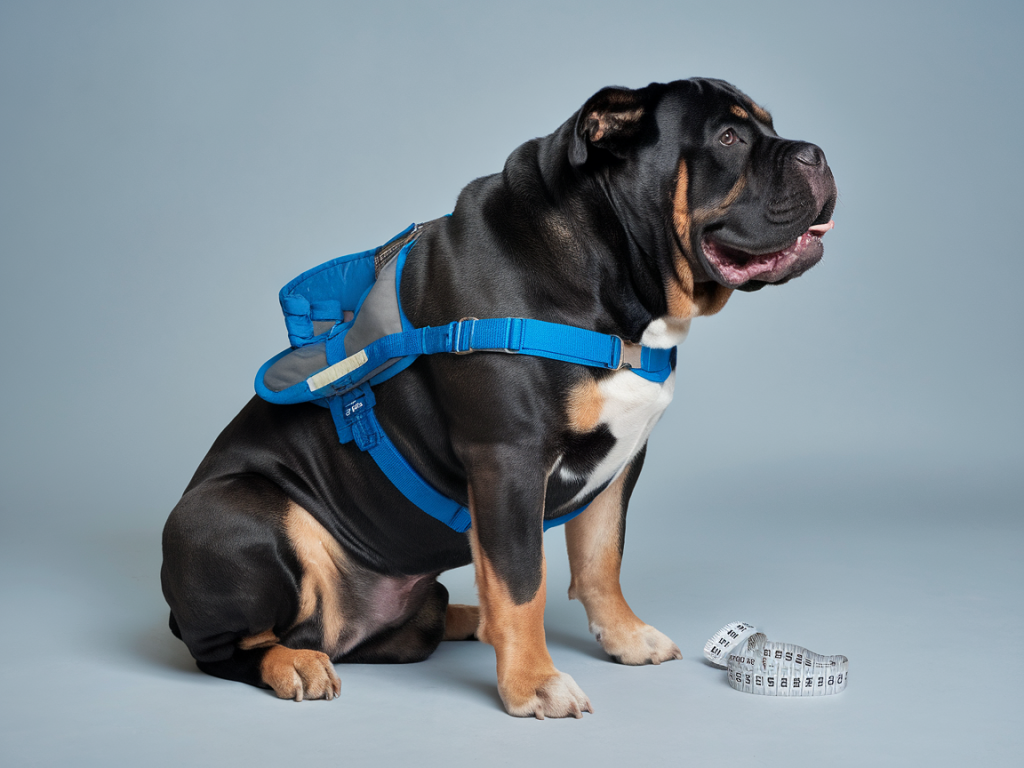
I’ve worked with a lot of Bullmastiffs over the years — puppies, prime adults and older dogs coming out of rescue — and one of the most common needs I see is support for mobility. Whether it’s an older dog with arthritis, a post-operative patient, or a dog recovering from neurological injury, a properly fitted mobility sling and harness can make a huge difference in comfort, confidence and quality of life. Below I explain how I measure, choose gear, and help a Bullmastiff acclimate step-by-step. These are practical methods I use at Shadowguard, grounded in experience and a bit of trial-and-error.
Why a sling and a harness both matter
A mobility sling (under-belly support) and a lifting harness (handles and straps around chest/torso) serve different purposes. A sling gives steady support to rear or entire-body weight while allowing the dog to use remaining strength. A harness with handles gives you control for transfers, stair assistance and short lifts without compressing the abdomen. I often use both together: harness for control and short lifts, sling for sustained rear support during walking practice.
What to measure — accurate sizing is critical
Before buying anything, take measurements with the dog standing naturally. I use a soft measuring tape and record three main numbers:
- Girth (A): deepest part of the chest, right behind the front legs. This determines body harness size.
- Neck circumference (B): where a collar would normally sit — important for some harness designs.
- Back length (C): from the base of the neck (where neck meets shoulders) to the base of the tail — helps choose sling length and where handles should sit.
I also note the dog’s weight and an approximate hip/waist width. For rear-support slings, measure from the floor to the top of the rump while standing — useful to set sling height and how much lift you’ll need.
| Typical Bullmastiff ranges (adult) | Girth (cm) | Weight (kg) |
|---|---|---|
| Small adult | 80–95 | 45–55 |
| Average adult | 95–110 | 55–70 |
| Large adult | 110–130+ | 70–90+ |
These are broad ranges — always check manufacturer size charts and measure your dog standing. If you’re between sizes, choose the larger and adjust straps for a snug fit without rubbing.
Recommended gear I’ve used and trusted
I’ve tried many brands. A few reliable choices:
- Gunner Outdoors / Ruffwear webbing-style harnesses: robust build, good handle placement. Ruffwear Front Range or Web Master harnesses are excellent for controlled support (check sizes).
- Help ’Em Up harness or Walkin’ Support Sling (DoG): designed specifically for rear-leg support and lifting heavy dogs safely.
- K9 Carts / Ortocanis slings: commercial mobility slings made in different widths and materials — choose a padded, non-slip fabric.
- Homemade sling (as interim): a wide towel or cradle-style sling can be used short-term; ensure it’s wide enough and comfortable under the belly and hindquarters.
Always avoid thin ropes or straps that concentrate pressure. Comfort, wide contact area and strong hardware are non-negotiable.
Fitting the harness and sling — step-by-step
Take your time. Have treats and a calm helper if possible.
- Step 1 — Introduce the gear: Let the dog sniff the harness and sling. Reward calm behaviour. Don’t rush to put anything on the first contact.
- Step 2 — Fit the harness first: Place it gently over the dog, adjusting one strap at a time. The chest piece should sit on the chest (not high on the throat), and the girth strap should be snug but allow two fingers between strap and body. The handle should sit roughly over the shoulders or mid-back for balance.
- Step 3 — Check range of motion: Encourage a few steps with just the harness. Watch for rubbing behind front legs or restriction of shoulder movement. A proper harness lets the dog walk naturally while giving you a stable handle.
- Step 4 — Introduce the sling: With the dog standing, slide a padded sling under the hindquarters (or belly for full-body slings). The sling should distribute weight across a broad area — not pinch. For rear support, place the sling beneath the hips and lower abdomen.
- Step 5 — Adjust height: If the sling attaches to handles on the harness, adjust so the dog’s hind feet still touch the ground lightly during walking practice. Too high and the dog can’t bear any weight; too low and you’re not compensating for weakness.
- Step 6 — Practice short lifts on a mat: Support a small percentage of the dog’s weight at first (10–20%) so they feel secure. Lift briefly, praise, then release. Gradually increase duration and support as the dog relaxes.
Training and acclimation plan
The goal is voluntary, confident movement — not fear or bracing. My usual progression:
- Day 1–2: Nose-to-harness and sling desensitization: treats, touch, and short sessions of wearing each item separately for 1–5 minutes. Reward calm posture.
- Day 3–5: Combine harness and brief sling support. Walk 1–3 steps then reward. Keep sessions positive and short — multiple short wins are better than a long stressful session.
- Week 2: Increase supported distance. Use a non-slip surface (rubber mat, carpet) so paws have traction. Let the dog initiate steps; mirror their rhythm. Gradually decrease hand pressure while increasing sling support if needed.
- Ongoing: Practice transfers (bed to standing, car to ground) using harness handles. Teach a cue word like “Ready” or “Support” before you lift to build anticipation and calm.
Common problems and fixes
Here are issues I encounter and how I solve them:
- Resistance or freezing: Back up a step — more desensitization to touching and having gear near them, then a quicker reward. Use high-value treats or a favorite toy.
- Rubbing and sores: Pad vulnerable areas with fleece or use harnesses with soft lining. Re-check fit; adjust straps to avoid movement that causes chafing.
- Sling slips backward: Make sure sling is wide enough and positioned under bony prominences; some slings have anti-slip neoprene which helps. Consider a second handler for heavier dogs during early sessions.
- Dog tries to sit or lie down while supported: Stop supporting immediately and only continue once they stand. Reward even a small step forward; build confidence with successive approximations.
Safety and veterinary collaboration
Always consult your vet or a canine physiotherapist for an individualized plan. Lifting improperly can worsen some conditions. I coordinate with vets for post-op weight-bearing limits, and with physiotherapists for targeted muscle rehab. If pain is suspected, treat the underlying cause — a sling helps mobility but is not a substitute for pain management or medical care.
If you’re in doubt about equipment strength for a heavy Bullmastiff, choose commercial products rated for higher weights — better the harness is overbuilt than under. Finally, patience and consistency win every time. With calm introduction, proper fit and a gradual training plan, most Bullmastiffs respond positively and regain useful, comfortable mobility.